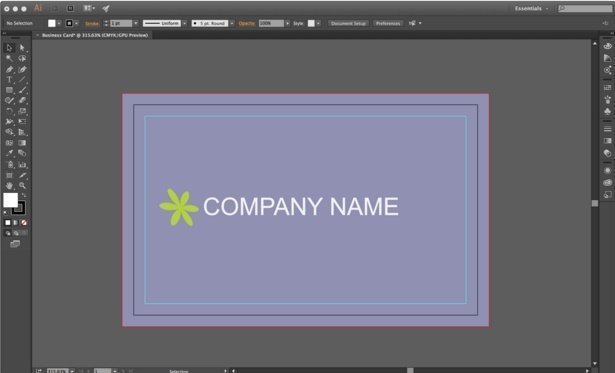
To achieve optimal printing results, please ensure that your files have 3mm bleed and 3mm safety margin. This is important, as during the cutting process, it may happen that the cutting occurs a little bit too far in (which is why you need a safety margin) or too far out (which is why you need bleed). The safety margin will ensure, that no important content is cut out of the artwork. The bleed will ensure, that there will be no white border at the edge of the product.
Set-up Bleed
After opening up your file, please click on Document Setup.
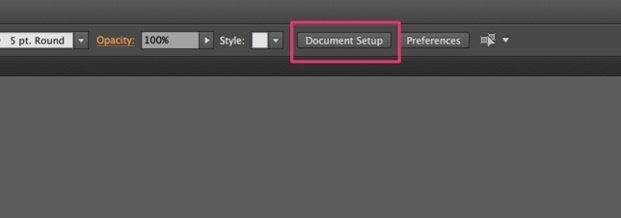
This will open a new window, where you can set the Bleed to 3mm on all sides of the artwork.

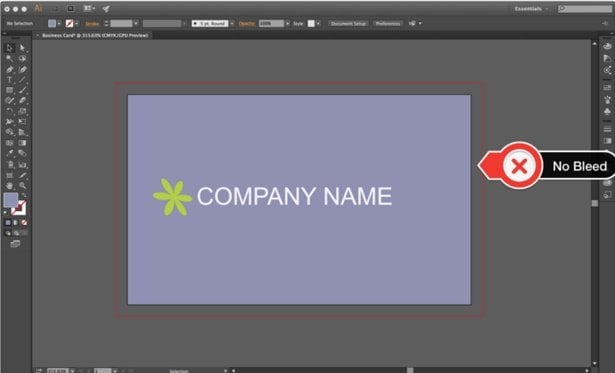
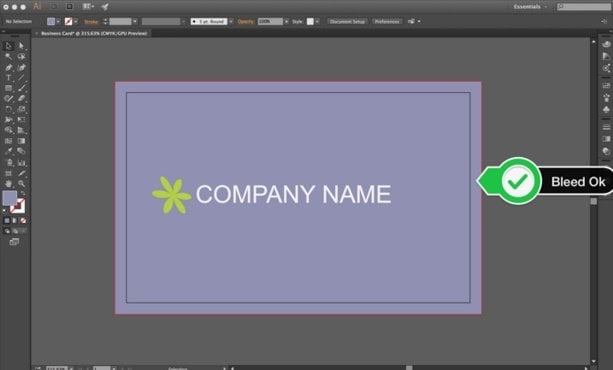
After pressing Ok, a red lining around the artboard will indicate, how far your graphical elements have to bleed over, to reach a sufficient bleed of 3mm.
Set-up Safety Margins
To show safety margins in Adobe Illustrator, you have to use the following work-around, as safety margins are not supported by default in Adobe Illustrator. First, select the Rectangle Tool and click anywhere on the screen.

This opens a new window, where you can input the rectangle dimensions. Please set the size of the rectangle to be 6mm less wide, and 6mm less high than the artwork, to ensure a safety margin of 3mm on all pages. For example, if your business cards have a format of 90mm x 55mm, please set the rectangle size to 84mm x 49mm.
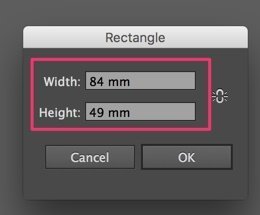
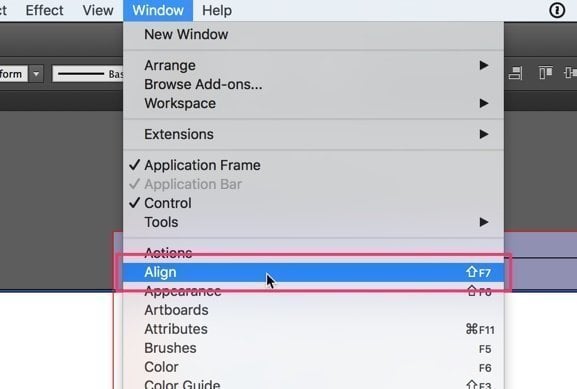
Then, click OK to create the rectangle. Next, you should center it on the artboard. For this, go to the Window -> Align.
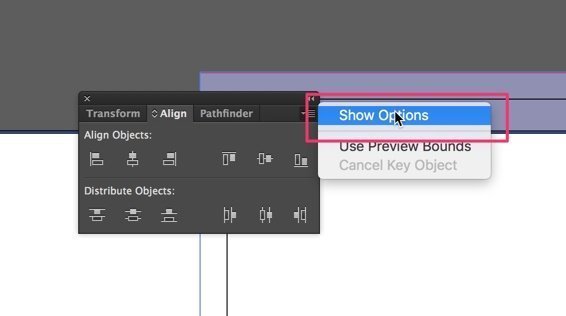
In the upper right corner of this window, click on More Options and then select “Show Options”.
Then, click on Align To: and select the option Align to Artboard.
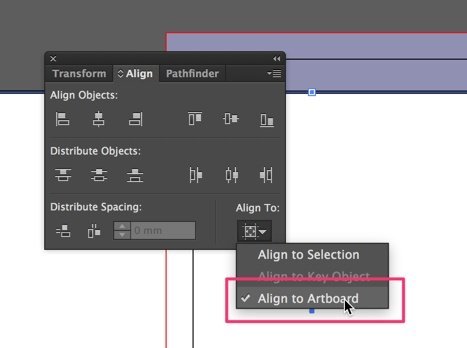
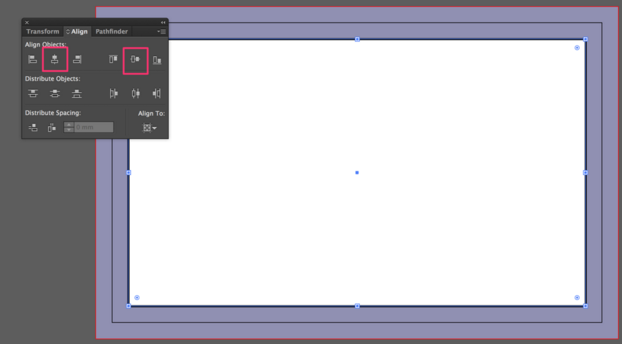
Then, you can easily align the rectangle to the center of the artboard, by clicking the Horizontal Align Center icon and the Vertical Align Center icon.
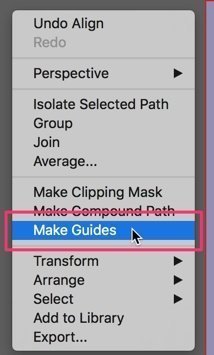
While selecting the rectangle, right click anywhere on the screen and select ‘Make Guides’.
Now, bleed and safety margins are set properly. Please ensure that all graphic elements extend to the red border, and no important information is between the red border and the turquoise border, as this information could get lost during the cutting process.
