Graphics which are not vectors but raster images (e.g. jpeg and png files) and are included as part of your artwork, always need to be embedded before saving your file. If they are not, it is likely that those images will get lost when you send your artwork file to a printing partner. This is actually a common and hard-to-detect problem in the printing industry, which can result in images that do not get printed in the final product.
The reason why images get lost if they are not embedded in your file, is because in that case Adobe Illustrator uses links to the location of local image files on your PC to display them. That is why when your file is sent to another computer, the image cannot be found and displayed (because that computer does not have your image).
However, when they are embedded, images become an integral part of your artwork file, and they can be displayed no matter where the file is opened.
This tutorial post will guide your through the steps to embed all your images in your artwork file. After you have created your artwork design in Adobe Illustrator (4 Steps to Making a Professional & Print-Ready PDF - Adobe Illustrator) and before saving it as a PDF, it is time to embed the images.
Simple steps to embed one image at a time:
Every time you add an image to your artwork file, you can choose to embed it immediately by following the steps below.
1. Drag and drop images into the artboard
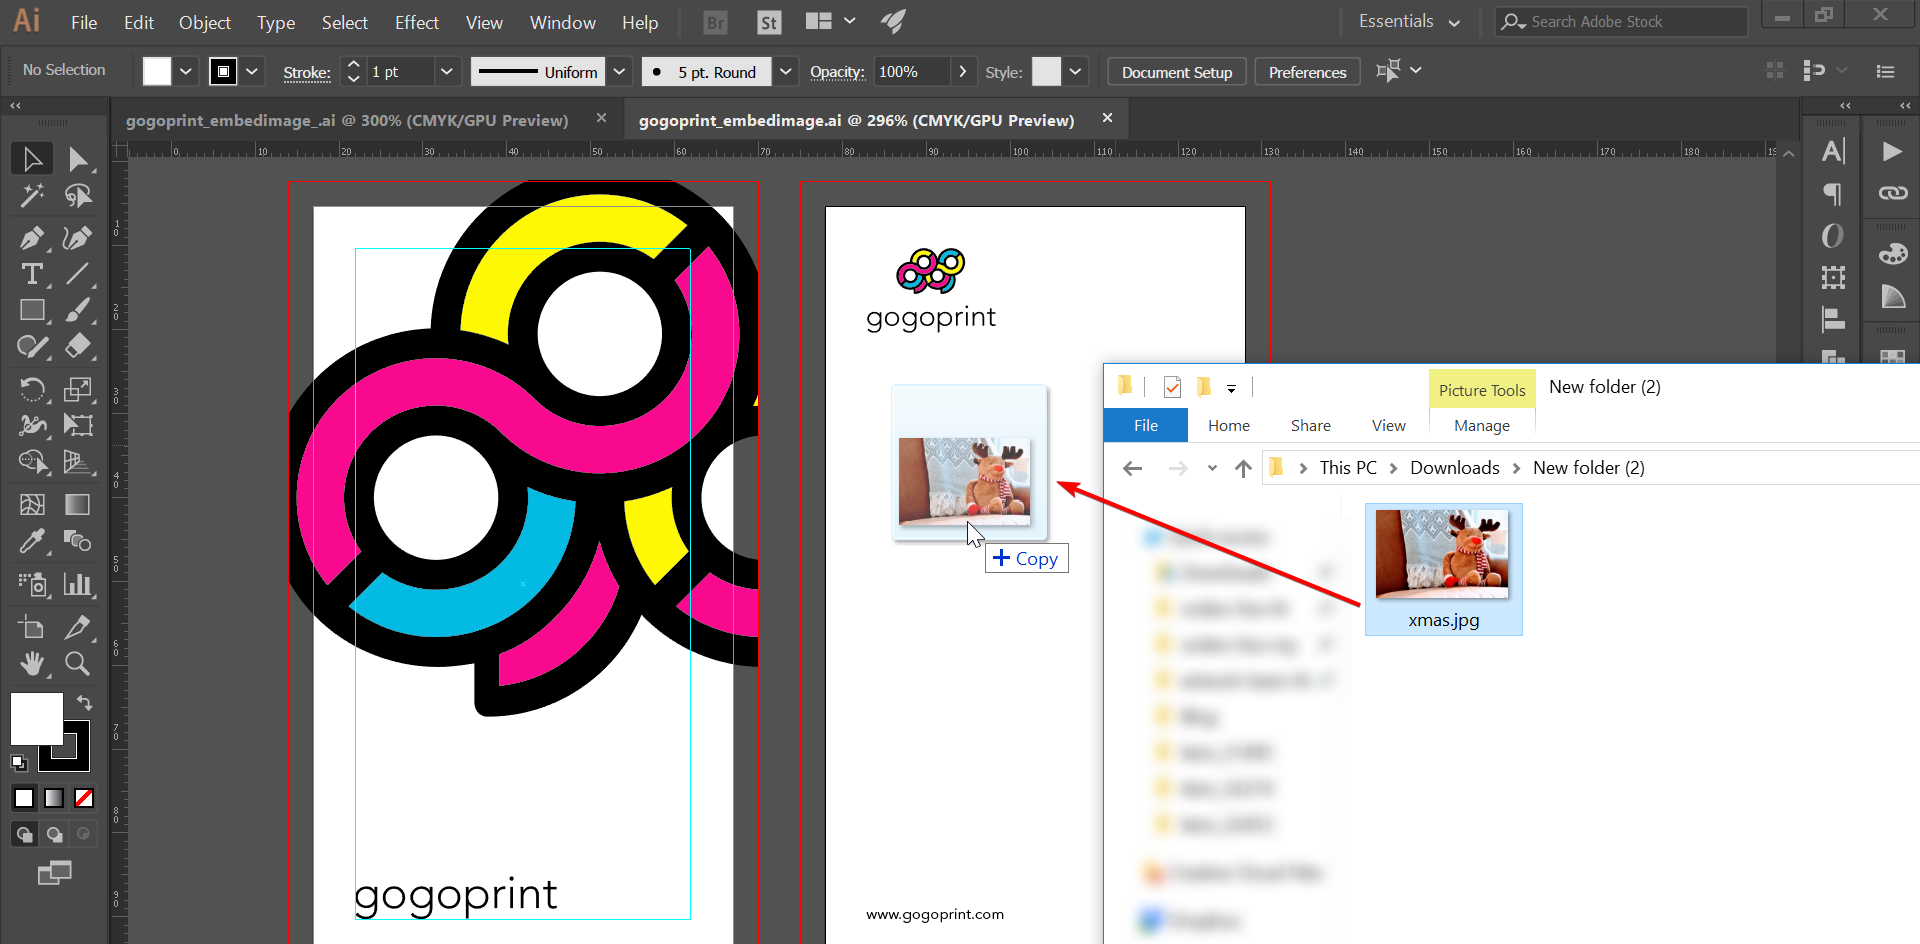
2. Adjust the size of the image accordingly
3. When you click on the image, a new toolbar (called “Linked File”) will appear at the top of your Illustrator, below the title bar.
4. To embed the image in the artwork, simply click the “Embed” button.
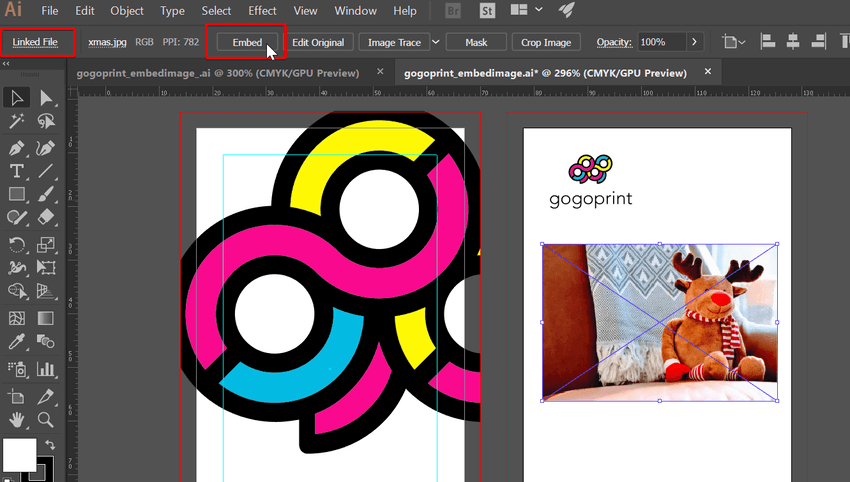
If you only see an “Unembed” button instead of “Embed”, that means the image is already embedded in the artwork file.
Steps to embed multiple images
If you do not want to individually embed every image in your file, you can also follow these steps to embed all of your images at once. For example, let’s consider the artwork file below, which uses 3 (Christmas-y) raster images.
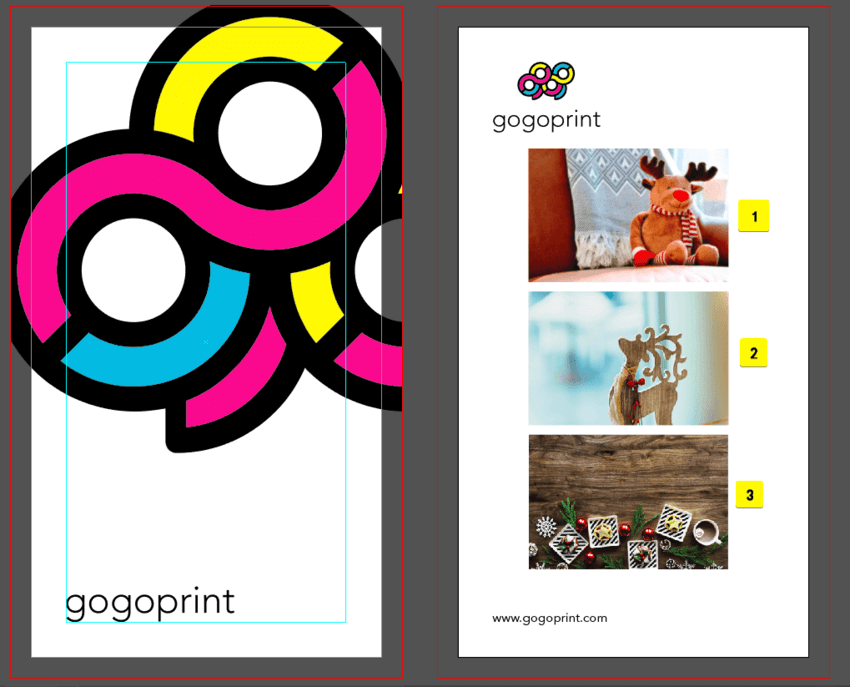
1. In Adobe Illustrator, go to Window → Links
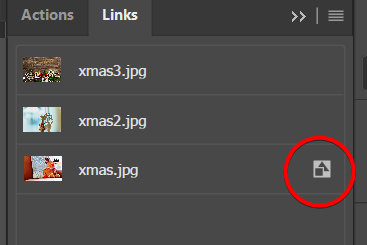
A window with all links included in your artwork will appear on the right side of your screen. This is where you will find a list of all the images that are used in your artwork.
When you can see the icon below on the right of a certain image in the list, it means that that image is already embedded.
2. To embed the rest of the images in the list, click the detail icon on the top right of the list, and then click Embed Image(s)
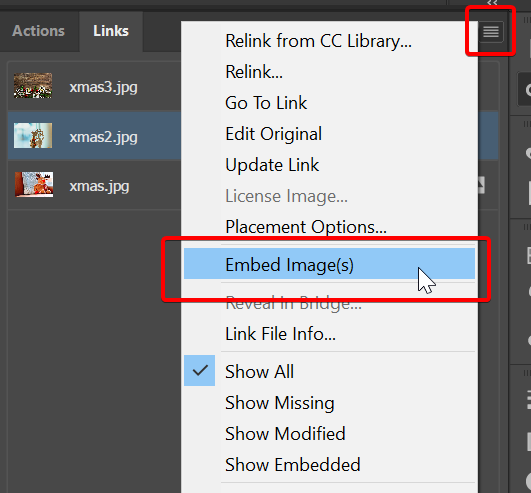
Normally, the icon should appear next to each image in the list, indicating that all the images are now embedded in the artwork.
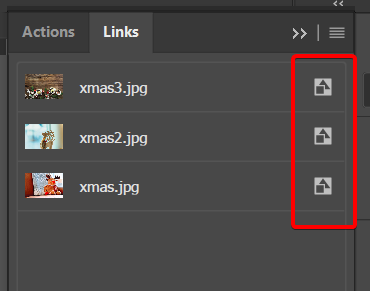
Simple, isn’t it?
When your images are not embedded in your file and it is opened on another computer, you will see the following pop-up screen:
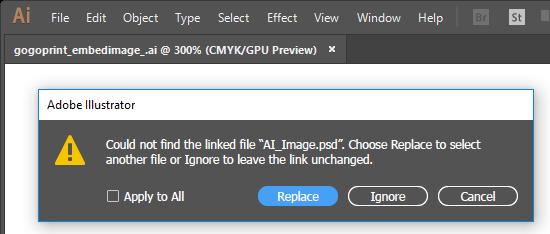
By clicking “Replace”, the person can choose an image that is on his computer, which needs to have the same filename as the one you use in the artwork.

All in all, when you send your artwork file to a printer with unembedded images, it creates a loss of time. Either you will need to adjust the file and embed images, or you will need to send through the images that need to be embedded in the file.
So just remember to do so each time before you save your file.
BTW, when you use raster images in your artwork, don’t forget to ensure that their resolution exceeds 300dpi!


